Having ADHD, it’s essential for me to immediately take note of tasks at the very moment I think of them, while also reminding myself of what tasks remain in my daily list through prominent visual cues. If I don’t take note of tasks the moment I think of them, my mind will latch on to something new just a few seconds later–and there’s no telling if I’ll ever remember the same task again. Then, having a constant visual reminder combats the “out of sight, out of mind” effect that many of us ADHDers experience, caused by forgetfulness from inattention.
Taking Note of Tasks
To manage the first issue of noting down tasks, I keep my to-dos in an app called Things 3. It’s available on all Apple platforms, and I think it has the most straightforward, no-distractions UX for adding and managing tasks. I always have my iPhone at hand, so it’s trivial to ask Siri or tap on a widget to open up Things and add a new task. Importantly, no matter what system I use to tag and organize my tasks across various projects and categories, I can always include the tasks I need for the day in the Today list.
Things also has convenient iOS integrations, such as a Lock Screen widget and a Watch complication that each show the first few unfinished tasks from my Today list. These don’t take up my visual real estate during most of the work day, however, so I end up with the “out of sight, out of mind” problem I mentioned above.
Keeping Tasks in View
This is where the Inky Frame 5.7" from Pimoroni comes in handy to solve my “out of sight” dilemma. I bought it quite a few months ago specifically for this purpose. I set up a Launch Agent to run some AppleScript and a Shortcut on my laptop every 30 minutes. The flow pulls tasks out of the local instance of the Today list in Things, and sends them off to an API endpoint I set up on fly.io that accepts the tasks and renders an image of the task list. The image is then sent directly(!) to the Inky Frame’s onboard Pico W to be displayed on the ePaper screen.1
The idea is to place the persistent display right next to my laptop screen to have an always in-view reminder of what I need to accomplish in a given day. I was using this for quite a few months, however, my partner and I moved our desks down to a new office room to keep our work out of our living space. Although I spend most of the day in the office working, this unfortunately prevents this setup from being helpful when I’m hanging out upstairs in our living room or kitchen.2 Either way, there are also a few implementation details (WiFi connections, etc.) that still need reconfiguration, and I hadn’t prioritized any of this until I was recently inspired by a reasonably priced 3D-printing service here in Japan I came across online…
Clothing the Naked Inky Frame

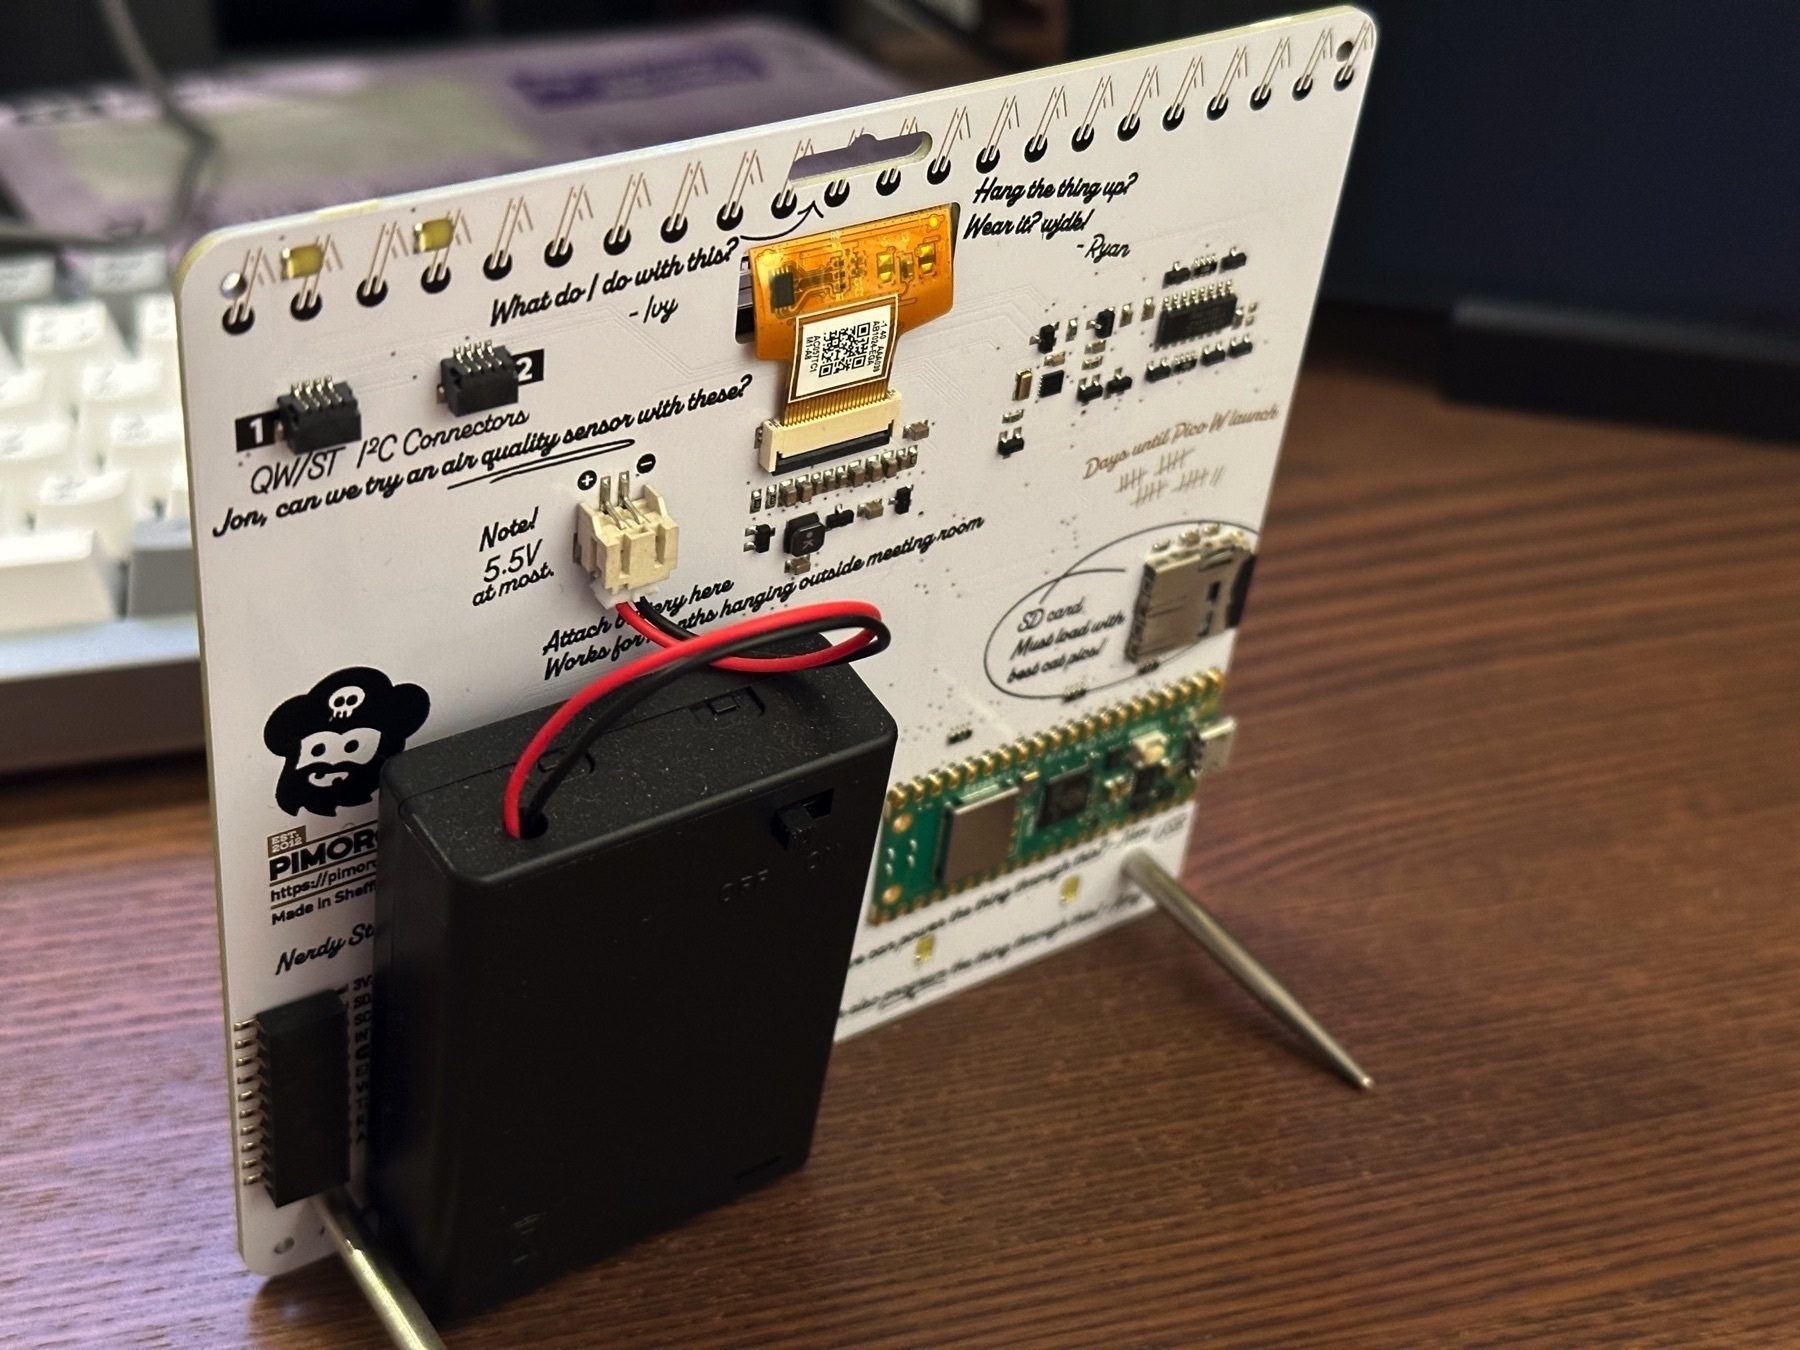
Inky Frame comes without any enclosure. The fully-exposed electronics and well-designed circuit board are fun to look at, but truthfully, I needed something that blends in a bit, helping the display remain the focus. When I first bought the frame, I had perused the internet in hopes that someone had shared an enclosure model for 3D printing, but it was too new of a product, and there wasn’t much to find until the device could reach more hands.
A few weeks ago, though, I finally found a suitable 3D model for an enclosure created by another Inky Frame user. Having found this and the printing service, I immediately sent it off to the “press”… only to have my files be immediately rejected by the print service. It was, of course, at no fault of the original creator. In my haste, I failed to verify that the model met the minimum size requirements for the particular materials I had chosen.

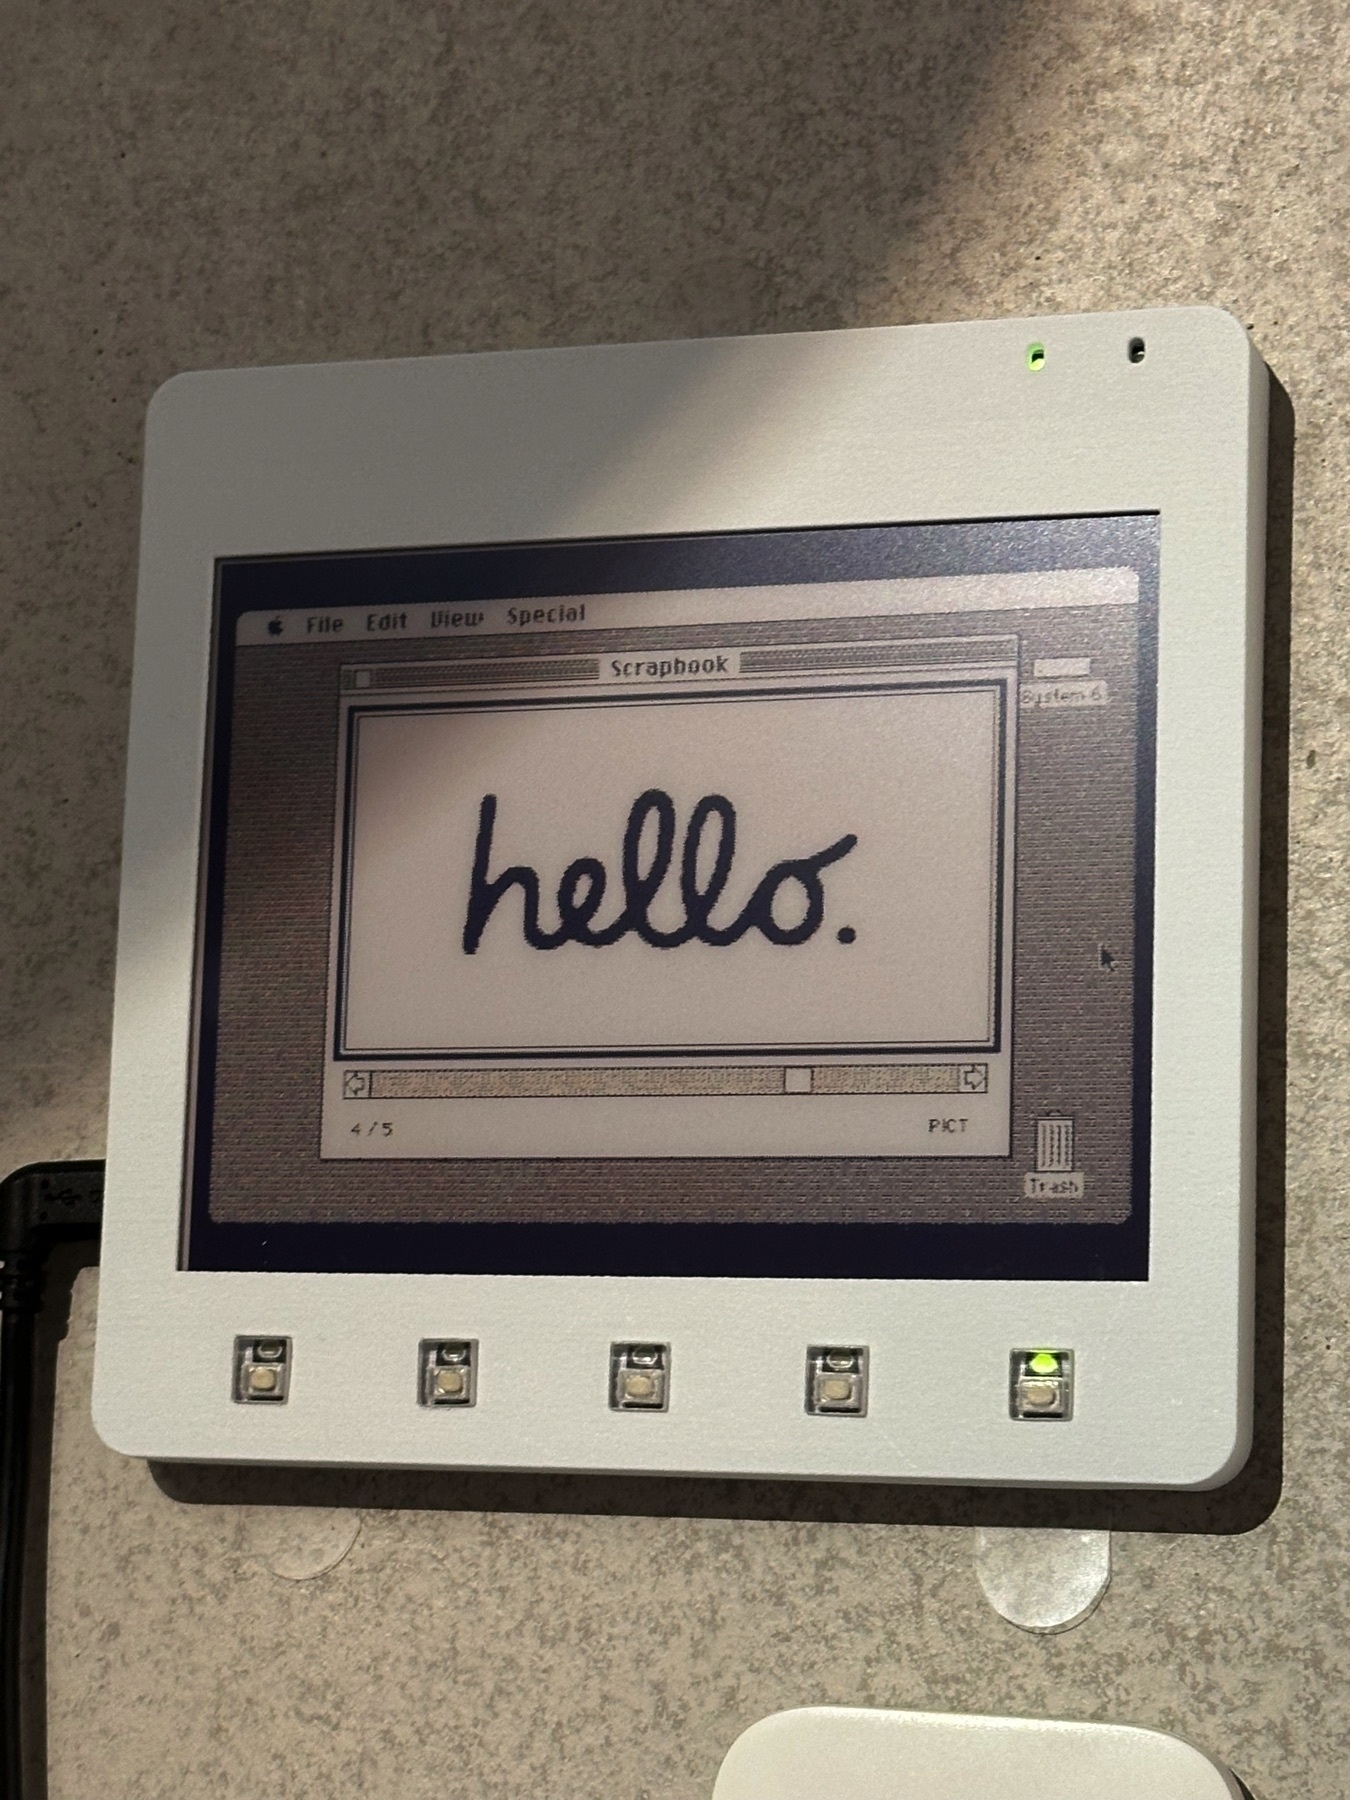
I spent a day or two making some modifications to meet the specs,3 and sent it off again. After an anxious couple of hours waiting, the printers approved! The printing took a couple of weeks due to material shortages, but the pieces were shipped to me quickly right after. I was able to assemble the frame with minimal issue4, and I now have a protected Inky Frame that I think looks very sharp up on the wall. You might note that I’m not currently using it to show my task list anymore, but I’ll have more to share about that in another post. 😉
Anyway, this is just a silly side project that I thought may be fun to share with the internet. Hopefully this inspires you to make something of your own!
-
The source files for this little project are available on GitLab. Be warned, the code is very slapdash and not fit for human consumption! ↩︎
-
Not to mention that this aspect of the project was recently made redundant by the introduction of StandBy Mode in iOS 17. 🙃 ↩︎
-
My remixed version of the model is also available on Printables.com. ↩︎
-
The buttons were printed in a different material, so I think the tolerances ended up a little too tight. I filed down the sides of the buttons and button holes a little bit and now they work just fine! I expect printing everything in the same material would avoid this issue. ↩︎